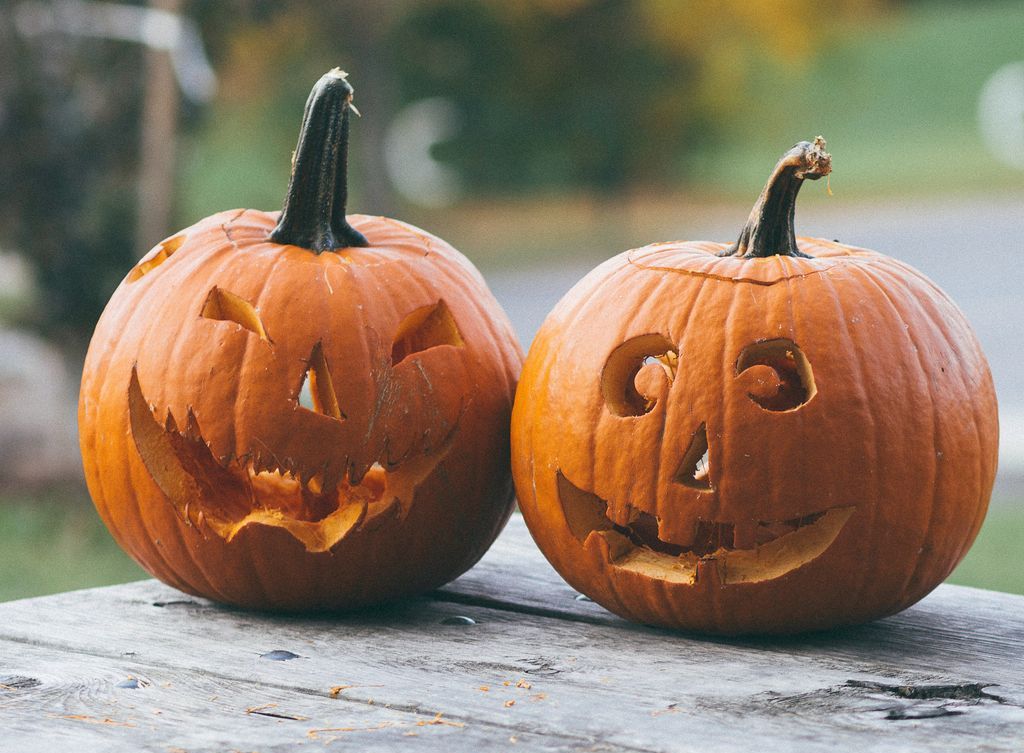
Here at illumy, we love sharing science-backed tips for communication, relationships, and conversations. But with Halloween around the corner, we’re taking this week’s tips in a different direction.
Pumpkins!
We’ve uncovered expert pumpkin-carving tips from around the internet—read on for Halloween inspiration.
1. Get the right tools
The tools you need for a winning jack-o’-lantern will vary, depending on your pattern.
For a really complex pattern with shading, you’ll have to use something like a rasp or a sculpting ribbon.
At a minimum, you’ll need a marker or skewer to transfer your design; a paring knife or keyhole saw; a small, sharp knife for detail work; and a scoop to remove the innards.
Pumpkin pros Maniac Pumpkin Carvers recommend using the following:
- A fine-line marker in red or brown
- A good-quality paring knife
- An X-ACTO knife
- A scoop made from a plastic serving spoon with the handle snapped off
2. Plan your pattern
The best pumpkin carvers work like tattoo artists: They sketch and refine their design on paper before transferring it to their, uh, canvas.
If you’re talented at drawing, you can apply your design directly to the pumpkin. Or, you may want to use your paper scheme as a guide. Simply tape it to the pumpkin and use a skewer or pinwheel to make small punctures in the skin.
Be sure to pick a pattern that matches your ability level. Want a shortcut to creating interesting designs? Grab one or more metal cookie cutters, then gently hammer them into the pumpkin’s surface. You only need to go deep enough to transfer the pattern; you’ll cut through in the next step.
3. Measure twice, cut once
Pumpkin carving is a little like carpentry: you only get one chance to get it right.
To start, you’ll use the keyhole saw to cut a hole into the pumpkin. If you cut around the stem, aim to cut at an angle so the “lid” will sit without falling in. Alternatively, you can cut a hole in the back.
Either way, make the opening large enough to fit your hand into.
After scooping out the pumpkin innards–and you’ll want to do a thorough job to prevent mold–you cut the pattern itself.
Use the saw for large cutouts, and rely on your X-ACTO or sculpting tools to nail the details. But be careful! The Hand Rehabilitation Center at Washington University in St. Louis recommends taking a few precautions:
- Be sure that your tools, as well as your hands, are dry before you begin carving.
- Cut away from yourself and use small, controlled strokes.
- Place your non-cutting hand away from where the knife might slip.
4. Preserve your creation
“As soon as you cut into [a pumpkin], it’s starting to decompose,” Maniac Pumpkin Carvers’ Marc Evan explains.
You have a few options to keep the finished product looking fresh:
- Apply a thin layer of petroleum jelly (or cooking spray) to the carved areas.
- Concoct a bleach/water solution in a spray bottle and mist daily.
- Wrap the pumpkin in plastic wrap and refrigerate.
Even with these precautions, a carved pumpkin won’t last more than a few days. So: time your carving carefully.
5. Light safely
What turns a pumpkin into a jack-o’-lantern is the light inside. Candles give off the most classic, eerie look–but if you go this route, put safety first. Use small candles like votives or tea lights, put them on a plate to catch dripping wax, and open a “chimney” in the pumpkin to vent heat.
Battery-powered LED lights are the safest option, and can be reused year after year. You may need several inside your pumpkin to get the desired glow level.
For a unique look, consider colored glow sticks or color-changing LEDs. A Frankenstein* design that glows green will definitely get noticed.
The only caveat? Just be sure you invest in enough candy. A lit jack-o’lantern is the universal signal for “trick or treat here.”
*Frankenstein’s monster. But, if you’ve read the book–was he the real monster? Share your thoughts with us on social media @illumyinc.
Photo by Bekir Dönmez on Unsplash.


